2026 Tear Off Roof Guide: 8 Steps for a Smooth Upgrade
Replacing your roof is one of the most important home improvement projects you’ll ever take on — and it all starts with a proper tear off roof process. Removing old roofing materials ensures your new roof installation is secure, efficient, and built to last. Whether your home has aging asphalt shingles, storm damage, or you’re simply looking to improve energy efficiency, understanding how a tear off works helps you plan a smooth, cost-effective roofing project from start to finish.
Here’s what this blog covers:
• What to expect: The full tear off process from inspection to cleanup.
• Preparation tips: How to plan for safety and efficiency.
• Key steps: The right order for removing and replacing roofing materials.
• Best practices: How to protect your home during the project.
• Pro insight: What Armour Construction recommends for lasting performance.
Why a Tear Off Roof Matters
Layering new shingles over old ones might seem easier, but skipping a tear off can lead to hidden leaks, uneven surfaces, and poor ventilation. A complete tear off allows roofing professionals to inspect the decking, repair any damage, and start fresh with a clean foundation. For homeowners in Crown Point, IN, this step ensures your roof’s integrity and compliance with local building codes.

• Structural inspection: Identifies damage, rot, or soft decking that must be replaced.
• Long-term durability: Extends your roof’s lifespan by removing weak underlying layers.
• Improved appearance: Provides a smoother, uniform base for your new roofing materials.
• Warranty protection: Many manufacturers require full tear offs for valid coverage.
• Better energy performance: Allows upgrades to insulation and ventilation systems.
8 Steps to a Smooth Tear Off Roof Process
Executing a successful tear off takes planning, precision, and a trusted roofing contractor. Following these eight steps will help ensure a safe, efficient, and high-quality roof replacement experience.
1. Comprehensive Roof Inspection and Evaluation
Every successful roofing project begins with a detailed inspection. A roofing professional evaluates your roof’s condition to determine if a complete tear off is necessary.
• Assessment: Reviews layers of shingles, flashing, and underlayment.
• Decking check: Identifies rotted or soft spots that may need repair.
• Estimate preparation: Outlines material costs, labor, and debris removal requirements.
2. Permits, Planning, and Scheduling
Before work begins, your contractor will secure the necessary permits and plan the project timeline. Scheduling around weather conditions is key to preventing unexpected delays.
• Permit compliance: Ensures the roof replacement meets local building codes.
• Weather timing: Avoids rain or high winds during removal.
• Material delivery: Coordinates dumpster placement and supply drop-off.
3. Property Preparation and Safety Measures
Preparing your home protects your landscaping, siding, and driveway during the tear off process. Professional roofers take steps to maintain a safe job site.
• Protective coverings: Use tarps and plywood to shield plants and surfaces.
• Safety gear: Workers wear harnesses and helmets for fall prevention.
• Clear zone setup: Keep outdoor furniture and vehicles away from the work area.
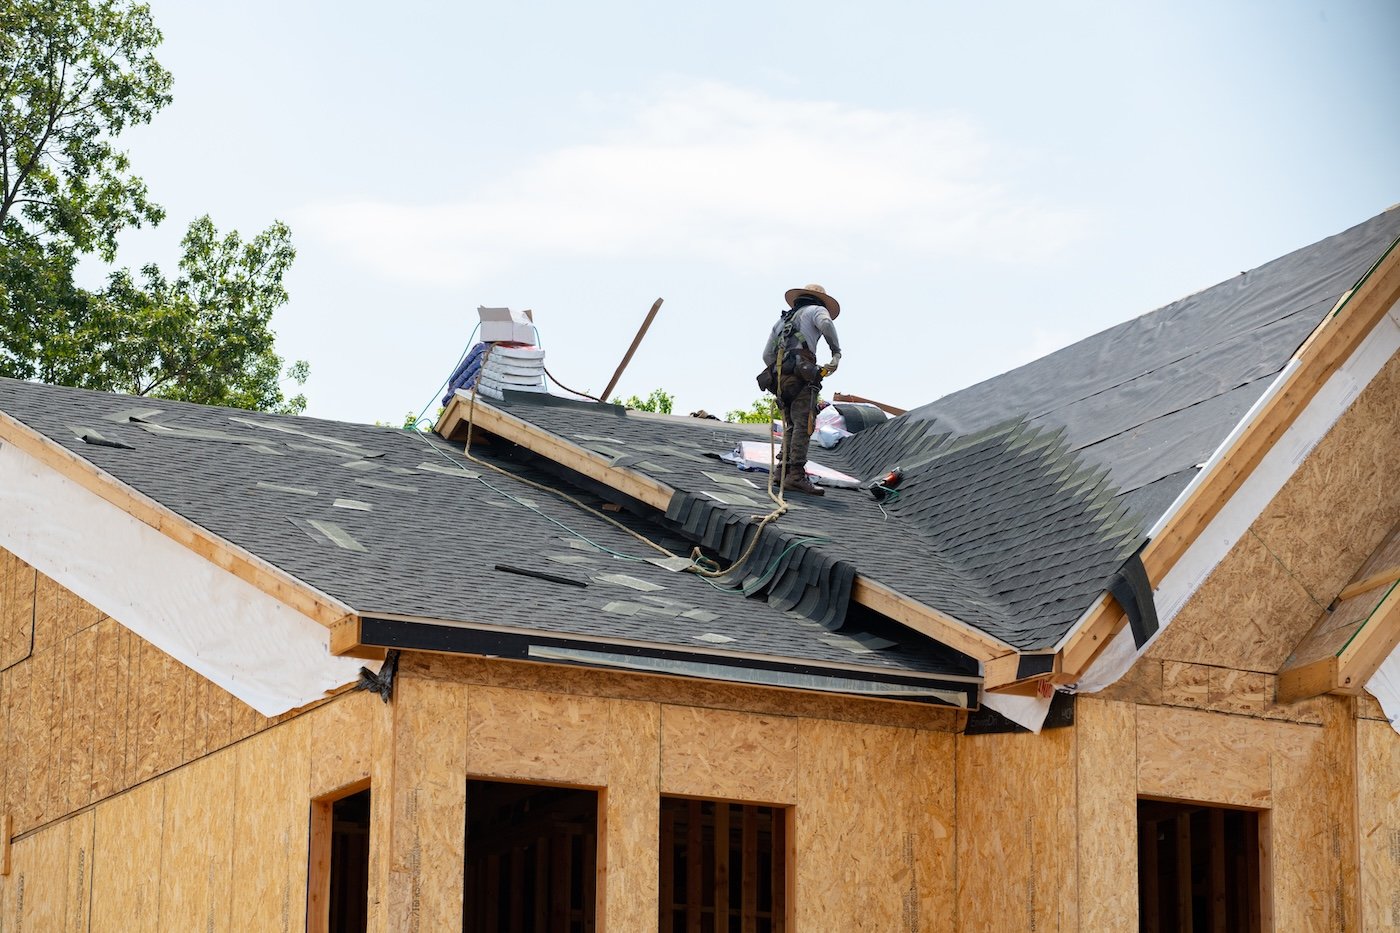
4. Removing Existing Roofing Materials
This is where the actual tear off begins. All old roofing materials, including shingles, nails, and underlayment, are removed using specialized tools.
• Layer-by-layer removal: Strips away asphalt shingles, flashing, and debris.
• Decking exposure: Reveals the surface for detailed inspection.
• Waste management: Debris is cleared into dumpsters for efficient disposal.
5. Inspecting and Repairing Roof Decking
Once the roof is stripped, the decking underneath is thoroughly inspected. Any damage found is addressed before moving on to installation.
• Replacement: Swap out rotted or weakened wood to reinforce the structure.
• Surface prep: Sand rough areas for a smooth, even foundation.
• Moisture protection: Apply sealant or barriers where needed to prevent future rot.
6. Installing Underlayment and Flashing
With a solid base in place, protective layers are added to prevent leaks and weather damage. Proper underlayment and flashing installation ensure the new roof performs flawlessly.
• Underlayment choice: Select between synthetic or felt materials for water protection.
• Flashing installation: Add metal flashing around valleys, chimneys, and vents.
• Ice and water shields: Reinforce vulnerable areas prone to moisture accumulation.
7. New Roofing Material Installation

Now the new roofing materials — such as asphalt shingles, metal, or tile — are installed according to manufacturer specifications. Precision during this step determines your roof’s long-term success.
• Nail pattern accuracy: Ensures wind resistance and tight sealing.
• Ventilation setup: Includes ridge or soffit vents for balanced airflow.
• Aesthetic finish: Aligns shingles neatly for a professional look.
8. Cleanup, Final Inspection, and Quality Assurance
A professional tear off job always ends with a thorough cleanup and final inspection to confirm your new roof meets quality and safety standards.
• Site cleanup: Removes all nails, materials, and debris from your property.
• Roof inspection: Verifies workmanship, ventilation, and sealing are complete.
• Client walkthrough: Ensures you’re satisfied and provides maintenance guidance.
Smart Tips for Managing Your Roof Tear Off Project
A roof replacement doesn’t have to feel stressful. With planning and communication, your project can stay on time and on budget.
• Set aside contingency funds: Reserve 10–15% of your budget for hidden repairs.
• Work with experienced pros: Choose a licensed roofing contractor with proven tear off experience.
• Monitor progress: Visit the site regularly and ask questions about materials or methods.
Frequently Asked Questions About Tear Off Roofs
Can I install a new roof over my old one?
While possible, it’s not recommended — layering can trap moisture and reduce durability. A tear off ensures a cleaner, stronger base.
How long does a tear off roof take?
Most residential projects in Crown Point, IN, are completed within 1–3 days, depending on roof size and weather.
What happens to the old materials?
All old shingles and debris are collected and hauled away for recycling or disposal.
Is a permit required?
Yes, most municipalities require a roofing permit to ensure code compliance and safety.
How can I maintain my new roof?
Schedule regular inspections, clear gutters, and repair minor issues promptly to extend the life of your roof.

Upgrade Your Home With Armour Construction
A tear off roof is one of the best investments you can make in your home’s safety, appearance, and long-term value. With expert removal, quality materials, and professional installation, you’ll gain a durable new roof that performs beautifully for decades. At Armour Construction, our team specializes in full tear off and roof replacement services across Crown Point, IN, and nearby areas.
Ready to start your roofing project? Contact Armour Construction today to schedule your roof inspection and receive a customized plan for a smooth, worry-free upgrade.