Installing Drip Edge on Your Existing Roof: 6 Steps
If you are planning on installing drip edge on an existing roof, it is one of the most effective ways to protect your home from water infiltration and extend the life of your roof deck. This step by step guide explains how proper drip edge installation supports your roof structure and helps prevent long-term damage caused by poor drainage.
In this guide, you will learn:
- Drip edge installation basics: Why it matters for your roof
- Step-by-step process: How to install drip edge correctly
- Material requirements: What makes drip edges effective
- Common mistakes: What to avoid during installation
- Maintenance tips: How to ensure long-term performance
Let’s walk through how to properly install a new drip edge and protect your home in Valparaiso, IN.
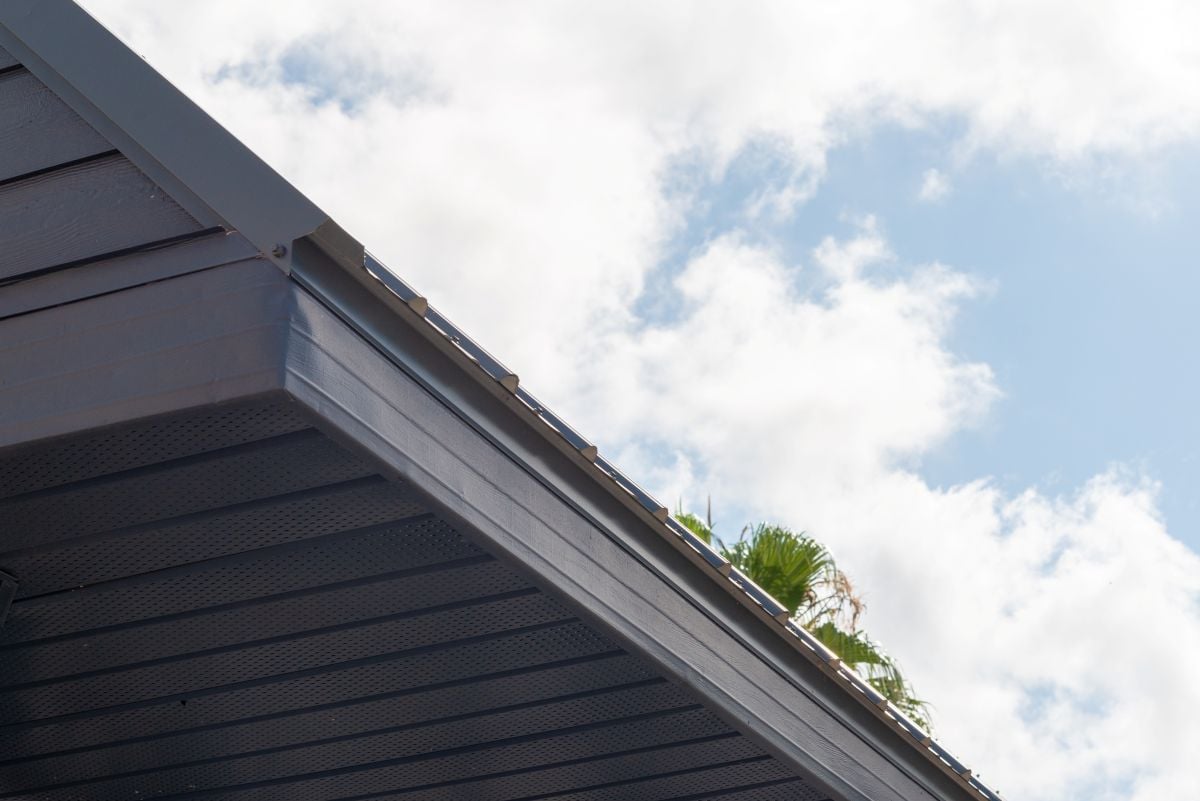
Why Drip Edge Is Important

Drip edge is a type of metal flashing installed along the roof edge to guide water away from critical areas like fascia boards, the roof deck, and underlying roof structure. Without it, water can run behind gutters or seep under existing shingles, leading to long-term structural issues. According to the Insurance Institute for Business & Home Safety, roof-related damage is responsible for an estimated 70 to 90 percent of total insured residential catastrophic losses in most years — and missing or improperly installed drip edge is one of the most common entry points for the water intrusion that drives that damage.
In Northwest Indiana, heavy rain and freeze-thaw cycles make proper drainage essential. A correctly installed roof drip edge ensures proper water flow and protects vulnerable areas from deterioration over time.
- Prevents water infiltration: Stops moisture from reaching the roof deck
- Protects critical areas: Shields fascia, trim, and structural components
- Supports roof structure: Maintains long-term durability and stability
- Improves drainage: Directs water cleanly into gutters
Signs Your Roof Needs Drip Edge
If your home is missing drip edge or has an old drip edge that is failing, you may already be experiencing issues. Identifying these problems early can help you avoid more extensive damage or even a full roof replacement.
Exposed Roof Deck
Visible roof deck edges beneath shingles indicate missing protection and increased risk of water damage. When the roof deck is exposed, moisture can easily penetrate the surface and begin to weaken the underlying structure, especially during heavy storms or snow melt.
Rot or Water Damage
Soft wood, peeling paint, or staining along the roof eave often signals poor drainage and ongoing moisture exposure. Over time, this can lead to rot in fascia boards and compromise the integrity of surrounding materials.
Gutter Drainage Issues
Water flowing behind gutters instead of into them is a strong indicator of drip edge failure or improper installation. This type of drainage problem can lead to foundation issues and water pooling around your home.
Shingle Edge Wear
Damaged or misaligned existing shingles near the roof edge may point to improper installation or lack of edge support. Without a drip edge, shingles are more likely to deteriorate quickly due to direct water exposure.
6 Steps for Installing Drip Edge on an Existing Roof
Drip edge installation requires precision and careful handling of existing shingles. Following the correct process ensures long-term performance and helps avoid common mistakes.
1. Inspect the Roof Edge
Before beginning installation, thoroughly inspect the entire perimeter of your roof. This step helps identify any damage or areas that need repair before adding new materials.
- Check for old drip edge: Determine if replacement is needed
- Inspect roof deck: Look for rot or structural damage
- Evaluate fascia boards: Ensure they are secure and intact
- Identify critical areas: Focus on spots prone to water infiltration
2. Loosen and Prepare by Removing Shingles
Accessing the roof edge requires carefully loosening or removing shingles. This step must be done slowly to avoid unnecessary damage.
- Lift existing shingles carefully: Prevent cracking or tearing
- Remove roofing nails where needed: Create space for installation
- Work in small sections: Maintain control and accuracy
- Preserve reusable materials: Keep shingles intact when possible
3. Measure and Cut Drip Edge Materials
Accurate measurement ensures proper coverage and prevents gaps that could lead to water infiltration.
- Measure each section precisely: Account for edges and corners
- Overlap pieces properly: At least 2 inches for a secure fit
- Use proper tools: Cut metal flashing cleanly and evenly
- Test placement: Confirm alignment before securing
4. Install the New Drip Edge

Correct placement of the new drip edge is essential for directing water away from the roof structure.
- Slide under shingles at eaves: Position beneath the underlayment
- Install over underlayment on rakes: Ensure proper water flow
- Secure with roofing nails: Space nails every 12 to 16 inches
- Align carefully: Maintain a straight and consistent edge
5. Reinstall and Secure Shingles
Once the drip edge is in place, reinstall the shingles to restore a watertight seal.
- Press shingles back into place: Ensure proper positioning
- Apply roofing cement: Reinforce adhesion
- Replace damaged shingles: Maintain consistent coverage
- Check alignment: Ensure a clean, uniform appearance
6. Final Inspection and Seal
A final review ensures the installation is complete and functioning correctly.
- Check for gaps or seams: Seal as needed
- Inspect nail placement: Ensure all fasteners are secure
- Confirm proper water flow: Verify drainage into gutters
- Review entire edge: Ensure consistent installation
Drip Edge Materials and Requirements
Roof drip edges are commonly made from materials such as aluminum, galvanized steel, and various plastics, with aluminum being particularly suitable for coastal climates due to its rust resistance. Choosing corrosion resistant materials is essential for long-term durability.
Drip edges must be made of corrosion-resistant materials and should extend a minimum of 2 inches onto the roof sheathing to effectively direct water away from the fascia and into the gutters. This ensures proper water flow and protects the roof structure from damage.
Common Drip Edge Installation Mistakes
Understanding common mistakes helps ensure your drip edge installation performs correctly over time.
- Insufficient overlap: Failing to overlap sections by at least 1 to 2 inches can allow water to seep through seams
- Improper nail spacing: Not securing drip edge with roofing nails every 12 inches can cause it to loosen
- Incorrect installation order: Installing on rakes before eaves can create a funnel effect that directs water behind fascia
- Poor fastening technique: Nail spacing should be every 12 to 16 inches along the flange for stability
- Improper placement: Drip edges should be installed under underlayment at eaves and over it on rakes
For a proper fit, drip edge pieces should overlap by at least 2 inches wherever two pieces meet to prevent leaks and maintain structural integrity.
Maintenance Tips for Long-Term Performance

Regular maintenance helps extend the life of your drip edge and overall roofing system.
- Inspect annually: Check for loose or damaged sections
- Clean gutters: Maintain proper drainage
- Check for corrosion: Replace worn materials promptly
- Monitor roof edges: Watch for signs of water infiltration
- Secure fasteners: Tighten or replace roofing nails as needed
Weather Challenges and Roof Edge Protection
Homes in Northwest Indiana face frequent weather changes, including heavy rain, snow, and temperature swings. These conditions can put stress on roof edges and increase the risk of water infiltration if not properly managed.
Drip edge plays a critical role in protecting these vulnerable areas by ensuring proper water flow and preventing moisture from reaching the roof deck. This added protection helps maintain the durability of your roofing system over time.
We’re proud to serve home and business owners in Valparaiso, IN, and nearby communities like Dyer, IN with roofing solutions designed for long-term protection and performance.
Protect Your Roof with Armour Construction
Proper drip edge installation is a small but essential part of maintaining a strong and reliable roof. When installed correctly, it protects against water damage, supports the roof structure, and improves long-term performance.
Armour Construction is a trusted roofing professional providing expert installation, repairs, and roof replacement services. Our team focuses on quality workmanship and attention to detail to ensure every project meets the highest standards.
Contact Armour Construction today to schedule your free roof inspection and make sure your drip edge is installed correctly for lasting protection.