How to Replace Wood Siding on a House (9 Step Guide)
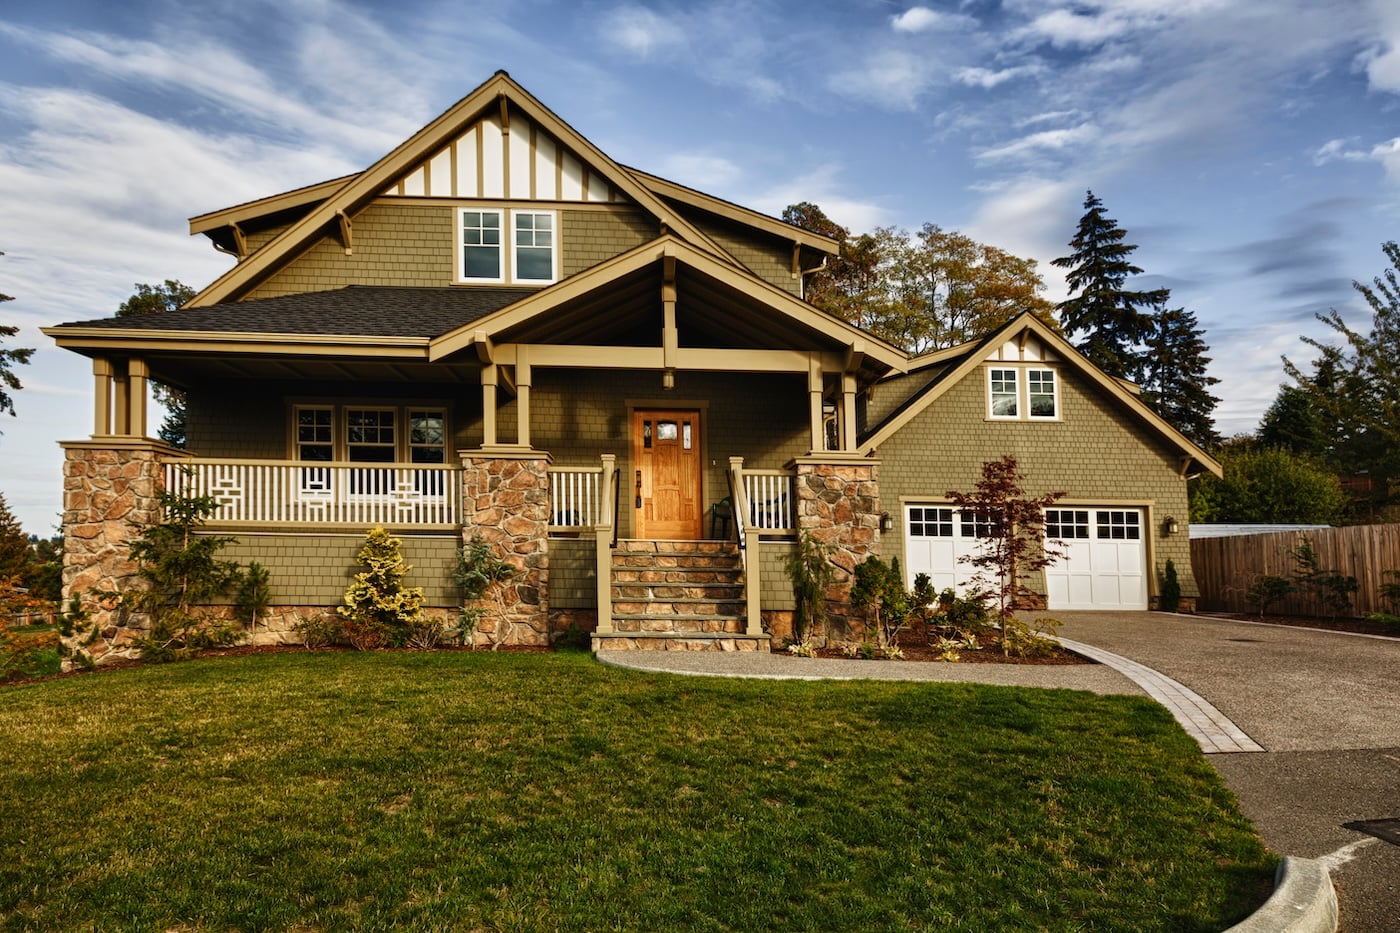
If you’ve been wondering how to replace wood siding on a house, it’s important to know that this project involves more than just tearing off old panels and adding new ones. A proper replacement protects your home’s exterior from water damage, improves curb appeal, and boosts energy efficiency. Whether you’re repairing a section or updating the entire wall, following the right steps ensures durable, professional results.
In this guide, you’ll learn:
- When to replace wood siding: Signs of aging or water damage
- Tools and materials needed: What to gather before starting
- Step-by-step instructions: How to complete the process safely
- Tips for success: How to extend your new siding’s lifespan
- When to hire a pro: Knowing when expert help is worth it
Let’s go through each step of the siding replacement process and what homeowners should know before getting started.
Why Replace Wood Siding
Wood siding gives your home a classic look, but it needs maintenance over time. Exposure to moisture, insects, and sunlight can cause boards to warp, crack, or rot. Left untreated, these problems can spread beneath the surface and damage insulation or framing.

- Rot or decay: Soft or crumbling wood signals moisture infiltration
- Peeling paint: A sign the protective finish has failed
- Gaps or loose boards: Allow water and pests to enter walls
- Warping or splitting: Often caused by temperature changes
- Mold or mildew: Indicates trapped moisture behind the panels
Replacing damaged or deteriorated boards keeps your existing siding system strong and restores your home’s exterior appeal.
9 Steps to Replace Wood Siding on a House
Replacing wood siding takes careful planning, proper preparation, and the right tools. Follow these nine steps for a smooth and effective installation.
1. Inspect and Plan the Project
Walk around your home and inspect the condition of the existing siding. Look for warped, soft, or water-damaged areas. Measure the total square footage to determine how many replacement boards you’ll need. Planning ahead helps you stay organized and prevents material shortages.
2. Gather Tools and Materials
Having everything ready keeps the process safe and efficient. You’ll need:
- Pry bar and hammer to carefully remove old boards
- Circular saw or jigsaw for precise cutting
- Level and measuring tape for straight alignment
- Caulking gun and exterior-grade sealant
- Galvanized nails or screws for installation
- Safety glasses, gloves, and a dust mask
Using the right tools and quality materials ensures your project lasts for decades.
3. Remove the Old Siding
Start at the top and work your way down. Use a pry bar to carefully remove damaged boards while preserving sheathing underneath. Check for nails or screws left behind. If you find rot or insect damage, repair those areas before adding new siding.
4. Inspect the Wall Sheathing and Framing
After removal, inspect the sheathing for moisture or decay. Replace compromised sections with rot resistant plywood or oriented strand board (OSB). This creates a solid foundation for your new siding and prevents hidden leaks later on.
5. Install a Weather-Resistant Barrier
Add a moisture barrier such as house wrap or building paper over the sheathing. Start at the bottom and overlap each layer by six inches. Secure with staples or cap nails, then seal seams with tape. This layer protects your home’s structure from rain and humidity.
6. Cut and Prepare the New Siding Boards
Measure and cut each replacement board carefully, leaving about 1/8 inch of space at the ends for natural expansion. Pre-prime and paint all sides before installation, including edges. Pre-finishing improves appearance and protects against future water damage.
7. Install the New Siding
Work from the bottom up, using a level to keep lines straight. Nail each board securely into wall studs, spacing fasteners every 16 inches. Stagger joints for a clean look and improved strength. Leave small gaps around windows or trim to allow for expansion.
8. Seal, Caulk, and Paint

Once installed, apply exterior-grade caulk to all seams and joints. Focus on areas prone to leaks, such as corners, windows, and trim. Finish with two coats of paint or stain designed for wood or vinyl siding, providing long-term UV and moisture protection.
9. Clean Up and Inspect Your Work
Clear away debris, old nails, and sawdust. Step back to check alignment, even spacing, and paint coverage. Verify that seams and caulking are tight and that your new siding blends seamlessly with your home’s exterior. A thorough inspection ensures durability and weather protection.
Tips for Long-Lasting Wood Siding
Wood siding looks beautiful but requires consistent care. Follow these maintenance tips to extend its lifespan:
- Repaint every 5–7 years: Keeps your siding sealed and weather-resistant
- Inspect after storms: Look for cracks or loose boards
- Trim landscaping: Keep bushes and trees from touching walls
- Wash annually: Remove dirt, mildew, and pollen
- Repair early: Fix small problems before they spread
These small habits preserve your siding’s appearance and reduce costly repairs later on.
How Weather Affects Wood Siding Longevity
Wood siding naturally expands and contracts with seasonal changes. Continuous exposure to rain, humidity, and temperature swings can cause boards to warp or crack if not maintained properly. Using rot resistant materials, sealing gaps, and maintaining tight seams all help protect your home from moisture infiltration. Proper ventilation and drainage are equally important to prevent rot behind your siding and maintain long-term strength.

We are proud to serve home and business owners in Valparaiso, IN, and surrounding communities with expert siding replacement, repair, and exterior improvement services designed for Indiana’s demanding climate.
Professional Craftsmanship with Armour Construction
Replacing wood siding can be rewarding, but professional installation guarantees precision and protection for years to come. Armour Construction’s team provides expert craftsmanship, weatherproof materials, and high-quality finishing designed to enhance both durability and appearance.
Whether you need a few boards replaced or a full siding renovation, we’ll ensure the job is done safely, efficiently, and beautifully.
Contact Armour Construction today to schedule your free siding evaluation and learn why homeowners across Northwest Indiana trust our team for quality work, honest pricing, and lasting exterior improvements.