How to Measure a Roof for Shingles (5 Easy Steps)
Planning a roofing project starts with accurate measurements, thats why we have the best roofing contractors in Schererville. Whether you’re replacing worn shingles or installing a completely new roof, knowing how to measure a roof for shingles correctly can save you time, money, and headaches down the road. Getting precise measurements ensures you order the right amount of materials and helps contractors provide accurate estimates for your project.
Many homeowners feel overwhelmed by the prospect of measuring their roof, but it’s more straightforward than you might think. With the right tools and techniques, you can calculate your roof’s square footage and determine exactly how many shingles you’ll need. This comprehensive guide will walk you through everything you need to know about how to measure a roof for shingles, from basic calculations to handling complex roof designs.
Here’s what we’ll cover:
- Essential tools and safety considerations for roof measurement
- Step-by-step instructions for measuring your roof
- How to calculate square footage and convert to roofing squares
- Techniques for measuring complex roof shapes
- Common measurement mistakes and how to avoid them
🧰 Essential Tools and Safety Considerations

Before you begin measuring your roof for shingles, gathering the right tools and prioritizing safety will make the process smoother and more accurate. You’ll need a few basic items that most homeowners already have around the house.
Start with a sturdy ladder that extends at least three feet above your roof line. A 25-foot measuring tape works best for most residential roofs, though you might need a longer one for larger homes. Bring a notepad and pencil to record measurements, and consider using a smartphone calculator for quick math. A level can help ensure accurate measurements on sloped surfaces.
Never attempt to measure your roof during wet, windy, or icy conditions. For urgent damage situations, check out our guide on emergency roof repair tips. Wear shoes with good grip and avoid working alone. If your roof has a steep pitch (more than 6/12 slope) or you’re uncomfortable with heights, consider hiring a professional roofing contractor instead.
How to Calculate Roof Square Footage
- Roofing materials are sold by the “square,” which equals 100 square feet of roof area. Most residential roofs need 15 to 30 squares, depending on size and complexity.
- Calculate roof area by multiplying the length by width for each section, but account for the roof’s pitch or slope as it affects the actual surface area.
- Roof pitch is expressed as a ratio (e.g., 4/12 or 8/12), where the first number is the vertical rise, and the second is the horizontal run. Steeper pitches increase surface area and material requirements.
- Use a pitch factor to adjust ground-level measurements to actual roof area. For instance, a 4/12 pitch factor is 1.054, while an 8/12 pitch factor is 1.202.
✅ 5 Step Guide to Measuring Your Roof

Accurately measuring your roof is essential for estimating costs and materials for repairs or replacements. With the right measurements, you can avoid costly mistakes and ensure a perfect fit for your project.
1. Measure the Ground Level Footprint
Start by measuring your home’s footprint at ground level. Walk around your house with your measuring tape and record the length and width of each section. For a simple rectangular home, you’ll have just two measurements. Complex homes with additions, dormers, or irregular shapes will require multiple measurements.
Don’t forget to include overhangs in your measurements. Roof overhangs typically extend 12 to 18 inches beyond the exterior walls, and this area needs shingles too. Measure from the edge of the overhang, not the house wall, to get accurate coverage calculations.
Record each measurement clearly in your notepad. Draw a simple sketch of your roof’s outline and label each section with its dimensions. This visual reference will help prevent confusion later when you’re calculating square footage.
2. Determine Your Roof Pitch
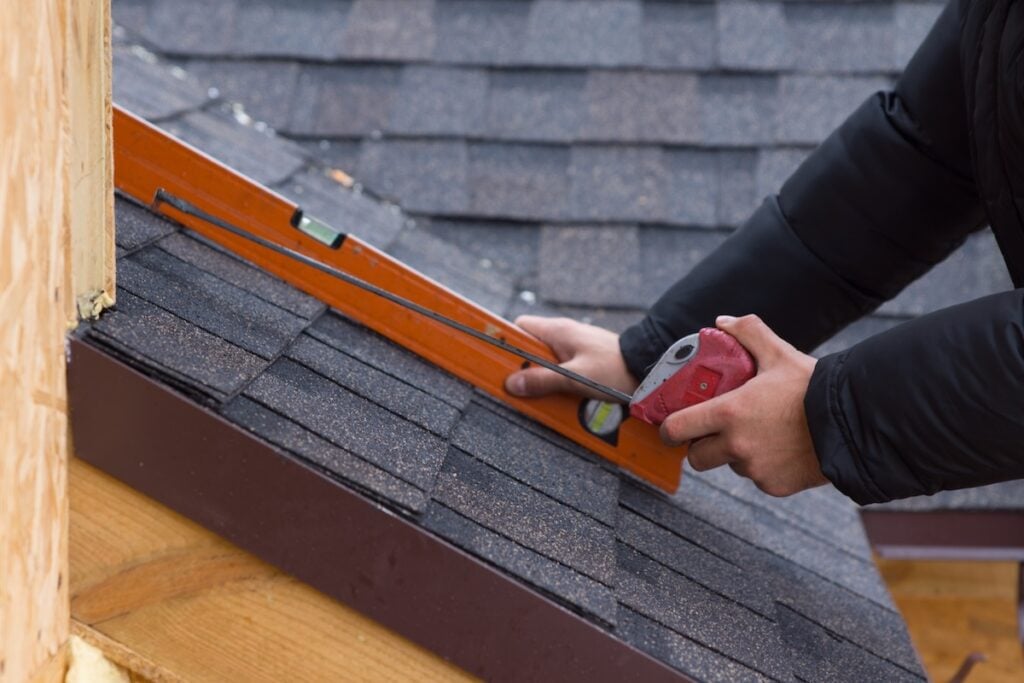
Measuring roof pitch requires going into your attic or onto the roof itself. The safest method uses your attic space and a level. Place one end of a level against the bottom of a roof rafter and extend it horizontally for 12 inches. Measure the vertical distance from the end of the level down to the rafter.
If the vertical measurement is 4 inches, you have a 4/12 pitch. If it’s 8 inches, you have an 8/12 pitch. Most residential roofs fall between 4/12 and 12/12 pitch, though some may be steeper or flatter.
Alternative methods include using smartphone apps designed to measure angles or hiring a professional to determine the pitch. Accurate pitch measurement is essential because it significantly affects your material calculations.
3. Calculate the Area of Each Roof Section
Multiply the length and width of each roof section to get the square footage. For a rectangular section measuring 40 feet by 30 feet, you’d calculate 40 × 30 = 1,200 square feet. Repeat this calculation for every section of your roof.
Remember that most roofs have two sides. If your simple gable roof measures 1,200 square feet on one side, the total roof area is 2,400 square feet. More complex roofs might have four, six, or even more sections to calculate separately.
Add up all your section calculations to get the total ground-level square footage. This number represents the horizontal area covered by your roof, but you’re not done yet.
4. Apply the Pitch Factor
Now multiply your total square footage by the appropriate pitch factor for your roof’s slope. Common pitch factors include:
- 3/12 pitch: 1.031 factor
- 4/12 pitch: 1.054 factor
- 6/12 pitch: 1.118 factor
- 8/12 pitch: 1.202 factor
- 10/12 pitch: 1.302 factor
- 12/12 pitch: 1.414 factor
Using our 2,400 square foot example with a 6/12 pitch: 2,400 × 1.118 = 2,683 square feet of actual roof surface area.
Add up all your section calculations to get the total ground-level square footage. This number represents the horizontal area covered by your roof, but you’re not done yet. Learn how it connects to roof structure repair in complex projects.
5. Convert to Roofing Squares and Add Waste Factor
Divide your total square footage by 100 to determine how many roofing squares you need. In our example: 2,683 ÷ 100 = 26.83 squares. Round up to 27 squares for material ordering.
Always add a waste factor to account for cuts, mistakes, and future repairs. Most contractors recommend adding 10% to 15% for standard roof shapes, or up to 20% for complex roofs with many angles and cuts. For our 27-square roof, adding 10% gives us 30 squares total (27 × 1.10 = 29.7, rounded up to 30).
🏡 Measuring Complex Roof Shapes

Not all roofs are simple rectangles. Hip roofs, dormers, valleys, and irregular shapes require special measurement techniques. Break complex roofs into smaller, manageable sections and measure each separately.
For hip roofs, treat each triangular section as a separate area. Calculate the area of triangular sections using the formula: (base × height) ÷ 2. The base is the width of the triangle, and the height is the distance from the base to the peak.
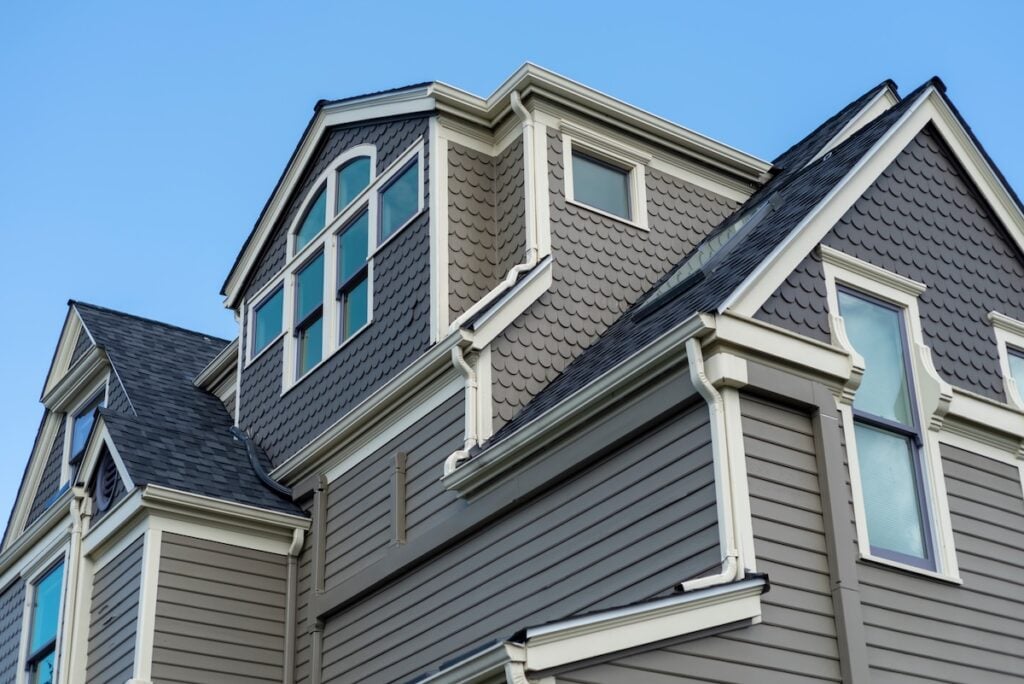
Dormers add both complexity and additional square footage to your calculations. Measure each dormer face separately, including the small triangular sections above and beside dormer windows. Don’t forget that dormers create valleys where they meet the main roof.
Valleys and ridges don’t significantly change your square footage calculations, but they do require special materials and installation techniques. Note the linear footage of valleys and ridges for your contractor, as these areas need additional waterproofing materials.
🚫 Common Measurement Mistakes to Avoid
Several common errors can throw off your roof measurements and lead to material shortages or overages. The most frequent mistake is forgetting to account for roof pitch. Using ground-level measurements without applying pitch factors can result in significant material shortages.
Another common error is miscalculating complex roof sections. Take your time with unusual shapes and double-check your math. When in doubt, break complex areas into smaller, simpler shapes that are easier to calculate accurately.
Don’t forget about roof penetrations like chimneys, skylights, and vents. While these areas don’t need shingles, they often require special flashing materials and can affect your layout planning. Note their locations and approximate sizes for your contractor.
Failing to add sufficient waste factor is another costly mistake. It’s better to have a few extra shingles than to run short during installation. Most suppliers will accept returns of unopened shingle bundles, but stopping work to get more materials costs time and money.
🛠️ Trust Armour Construction for Your Roofing Needs
Measuring your roof for shingles is a critical first step in any roofing project, ensuring you have the right materials and quantities to get the job done right. While it’s possible to take these measurements yourself, it can be tricky to account for angles, slopes, and unique roof features. That’s where Armour Construction comes in. With years of experience and a reputation built on trust, we take the guesswork out of roofing.
From precise measurements and material recommendations to dependable installation, our team is here to guide you every step of the way. Don’t leave your roofing project to chance—contact Armour Construction today for a professional assessment and a detailed estimate. We proudly offer trusted roofing services in Valparaiso and the surrounding area.


